
+86 755 23057280
English
1. High cycle fatigue
High cycle fatigue refers to the fatigue life of the load cycle cycle is relatively high, generally more than 50,000 times. The cyclic stress level loaded on the part or member is relatively low, the maximum cyclic stress is generally less than the yield stress of the material, and the material is always in the elastic stage. Generally, stress is used as a control parameter, so cyclic fatigue is also called stress fatigue. After a sufficient number of cyclic loads, the crack first begins to form from a local area of high stress inside the material, which is called crack initiation. After that, under the continuous action of cyclic load, the crack spread further until the complete fracture occurred. The three stages of crack initiation, expansion and fracture are a feature of the fatigue failure process, and the number of cyclic loads borne by the three stages is called fatigue life.
In high cyclic fatigue test, the fatigue properties of materials can be described by S-N curve. Under the given stress ratio, the cyclic stress with different stress amplitude is applied to record the cyclic life of the load at the time of failure. Taking the life as the horizontal coordinate and the stress as the vertical coordinate, the point is traced and the data is fitted.
2. High cycle fatigue test machine
Fatigue testing machine developed for high cycle fatigue test, there are two series of HDT-A (actuator upper) and HDT-B (actuator lower), both driven by electro-hydraulic servo, by electrical controller, servo valve, load sensor, displacement sensor and computer together to form a closed-loop servo control system to achieve force, deformation, displacement PID control. And automatically measure test force, displacement, deformation and other test parameters.
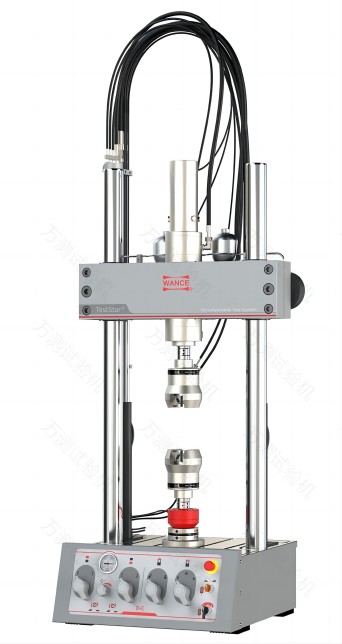
HDT-A (actuator upper-seated)
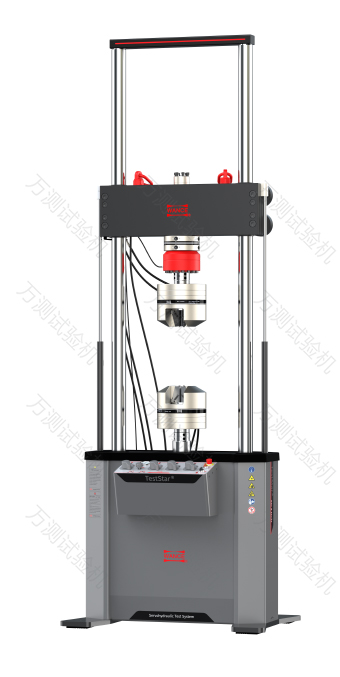
HDT-B (actuator lower seated)
HDT-A, HDT-B can be used to test the dynamic fatigue characteristics of metal materials, non-metallic materials, composite materials, elastomers, structural parts. The fatigue test can be loaded with sine wave, triangular wave, trapezoid wave, custom wave and other waveforms. With different fixture configuration, it can realize the loading mode such as pulling, pressing, pulling and pressing. Environmental test equipment can also be configured to simulate environmental tests under high temperature, low temperature, salt spray and corrosion. It is an ideal fatigue test system for scientific research institutes, material manufacturing, civil engineering, national defense, colleges and universities, machinery manufacturing, transportation and other industries.
3. Testing standards
4. Specimens
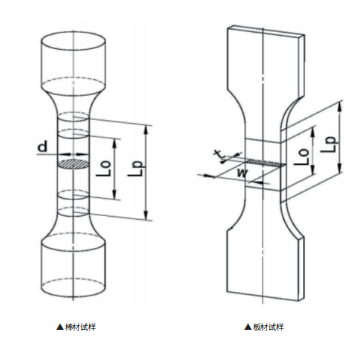
In general, the basic S-N curves describing the fatigue properties of materials are obtained by using small-size samples under cyclic loading. In order to ensure that the test data reflect the real properties of the material and reduce its discreteness, the relevant standards have clear requirements for the sample processing size, accuracy, and surface roughness. The sample shape of the general metal material is bar or plate, and some non-metallic materials are similar in shape. The following figure shows the sample types supported by the high-cycle fatigue test module of our test software. The sample size can be input into the software one by one according to the size code, and the sample parameters can be established.
5. Hydraulic grip
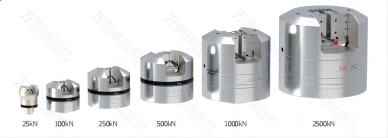
In addition to directly clamping bars and plates, the hydraulic grip can also be extended to bolt clamp and anchor chain clamp.
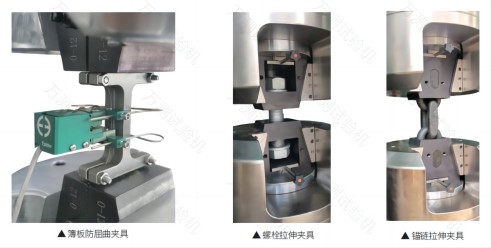
6. Center alignment
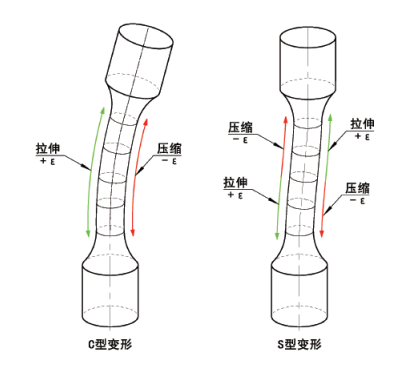
The inevitable error of the mechanical structure will lead to the disalignment between the upper and lower fixture, resulting in C-type deformation, S-type deformation force or composite deformation of the sample, and the local stress/strain of the sample will be far greater than the set value, and the fatigue test life of the final sample will be seriously reduced.
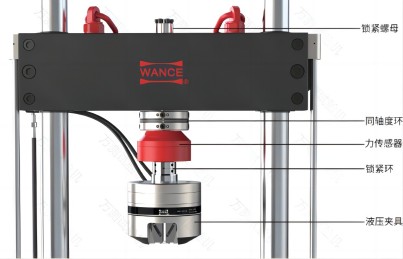
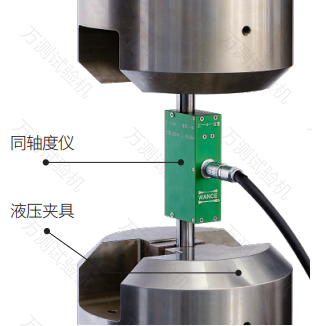
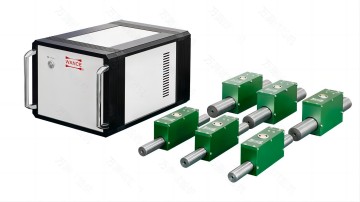
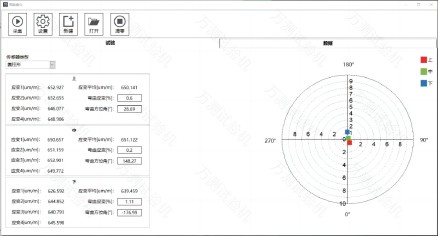
The relevant test standards require that the bending rate of the sample is less than 5%, if the machining accuracy and assembly accuracy are relied on alone, it is far from reaching the bending rate of less than 5%, because of the addition of a coaxial ring on the host, the hydraulic fixture can be accurately adjusted through this ring, and the bending rate can be easily reached.
7. Center alignement inspection
8. Test software
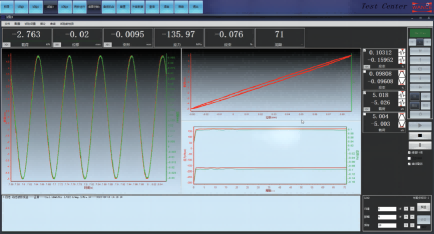
Window main interface
▶ Multiple curve Windows can be placed on the main interface, and the window can be arranged arbitrarily.
▶ Curve window X/Y axis display content can be arbitrarily switched, such as time - displacement, time - cycle, time - command, time - output, displacement - load, etc.
▶ Single-window multi-curve interface, such as time-shift, time-command display in one window at the same time.
▶ Can display the maximum jitter peak/valley value during the entire test process, such as the maximum jitter peak/valley value of displacement, load and deformation.
▶ During the test, the mean, amplitude and frequency can be adjusted on the main interface without pausing.
▶ Log recording, record the information of each step of the user's operation instructions and system automatic instructions, which is convenient for follow-up tracking and tracing problems.
▶ Fast operation of the actuator, fast up/down, slow up/down, etc.
